Archives for posts with tag: Brooklyn

IMG_5187

A while back I acquired a yogurt maker. I don’t remember how or when or from whom exactly. But about the time I started making my own kimchi and kombucha I started fermenting my milk too. [Insert Brooklyn joke here.]

Making yogurt is almost foolproof. Like making ricotta or almond milk or tempeh. (Ok, making tempeh isn’t really easy at all but you should read this post by Lagusta if you want to learn how.) Herein lies the key: start with good milk. I’m probably not supposed to advocate for raw milk but let’s just say the less pasteurized the more good bacteria and the more tangy and flavorful your yogurt will be. I use Evans’ Farmhouse milk from upstate New York which I can get at my local food coop. They maintain full pasture-based cows and it’s a family owned farm. As Anne Saxelby was quoted as saying in the Times, “This is butter.”

I’ll also just say for all my vegans out there, take heart. You can make non-dairy yogurt at home too. I’ve been making my own yogurt for a while now so I have my own culture to work from. I just save a little from each previous batch I make to mix with the new milk. You can also buy a single-serving container of yogurt and use that as a starter, or use a starter like Belle+Bella. I like theirs because it’s non-gmo and works well with soy, almond, or other kinds of milks.

As with most things I make and document on this blog, I save neither time nor money by going the homemade route. Would it be easier to go into my local grocery store and buy a quart of Stonyfield yogurt? Yes. Cheaper? Probably. But would it taste as good? It’s also about avoiding processed food and additives when I can. I don’t do this religiously nor aspire to (until I become a yoga teacher who lives in Vermont and makes pottery in about twenty years.) Until then, I dabble in the fermenting arts when I can. You should give it a try.

Homemade Yogurt
Makes approx. 1 quart of yogurt

1 quart milk
1 packet (5 g) of yogurt starter like Belle+Bella’s Yogo or 1 c yogurt at room temperature

1. Heat 1 quart or liter of milk to approximately 180 degrees F (82C).
2. Let the milk cool to approx. 108F (42C).
3. Stir either your packet of starter or your cup of yogurt with a small amount of the cooled milk and mix well.
4. Combine this mixture with the rest of the milk and stir well.
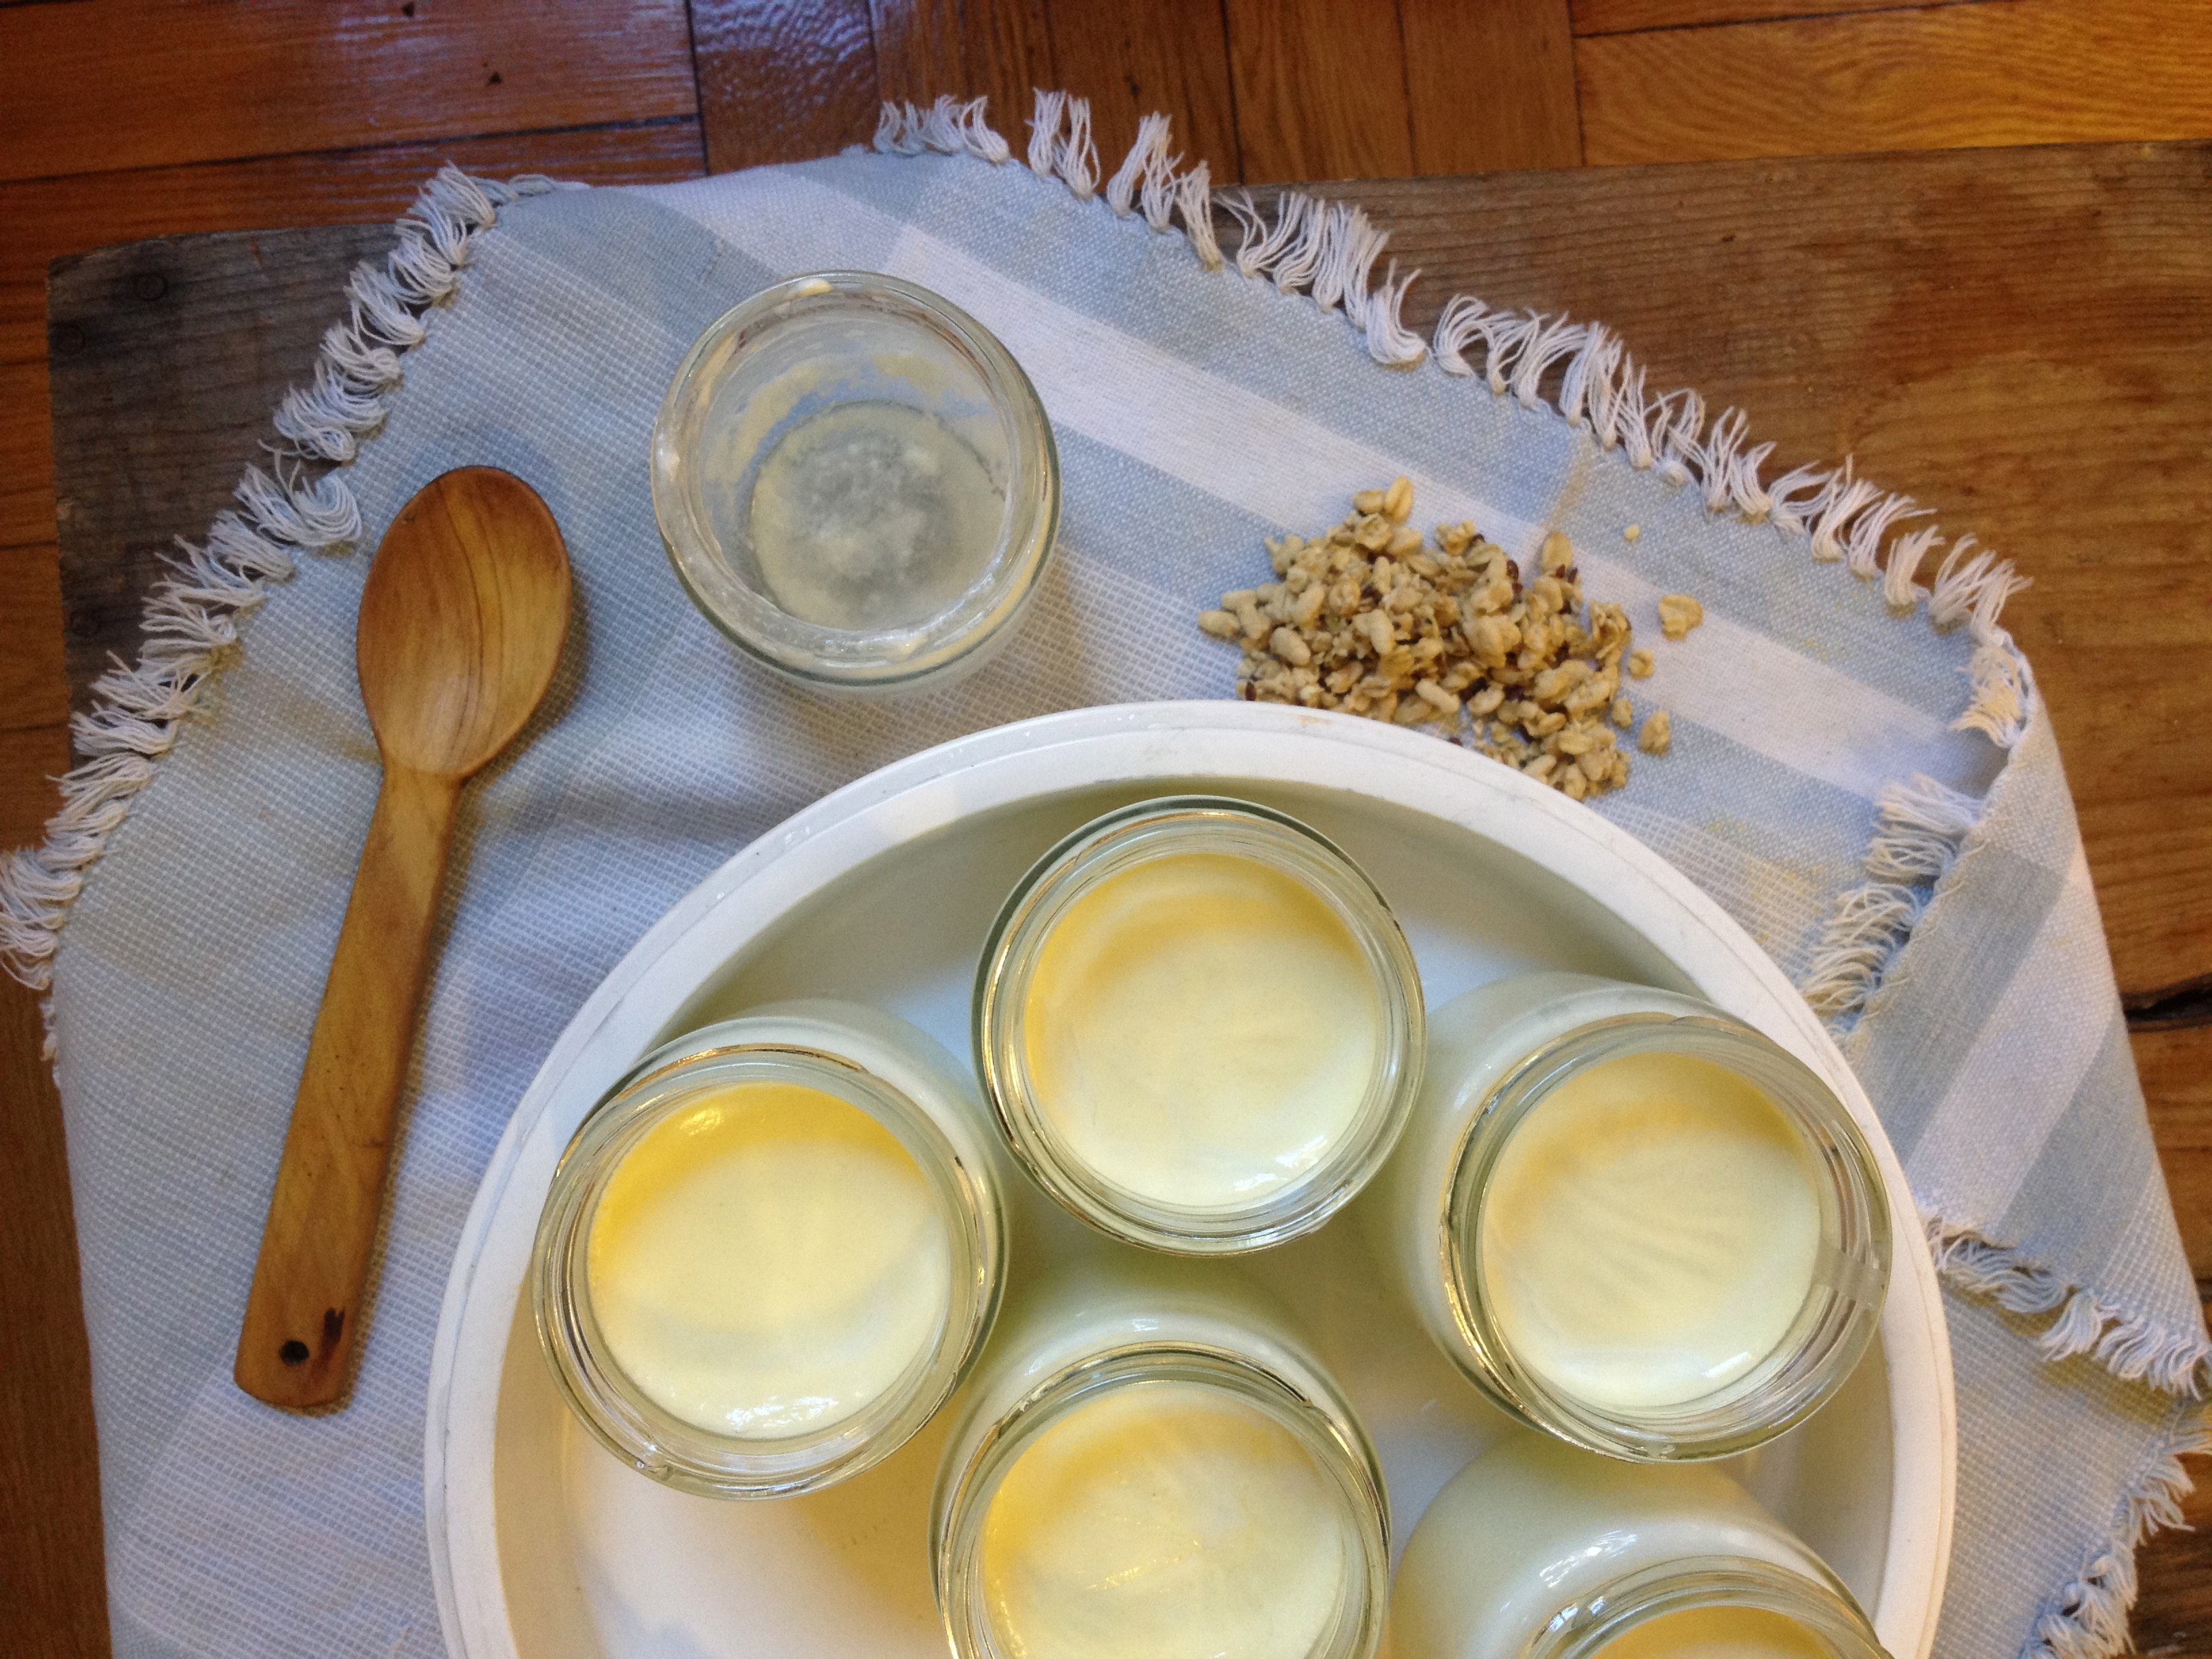
5. Keep warm at approx. 112F (44C) for at least five hours and up to about 12. You can do this in your oven but it really is a lot easier to use a yogurt maker.
6. Refrigerate for a few hours before eating.

IMG_5175

IMG_4784

It is said that moving is one of life’s biggest stressors. Moving and cooking is particularly challenging. Your cutting boards are packed away. You can’t remember where you stashed your favorite knife. You tossed all the half-bags of flours, dried beans, and pastas from your pantry and need to start over. (I should’ve kept that buckwheat flour.)

But moving is a chance to start over, to recycle reams of old bills and pay stubs, donate books and embarrassing shoes worn to first job interviews, re-order surroundings and re-sort the mind. Packing is revealing. It had been three years since my last move, and this would be my fifth apartment in Brooklyn in nine years. I came across car registration paperwork from the city of Cambridge c. 2005; acceptance and rejection letters to grad school; final papers from my senior year of college. Stacks of business cards from a job I haven’t had in years! Why had I been holding onto this stuff all these apartments later? It’s interesting that, with each move, you become willing to throw more and more away. The half-life of my nostalgia seems to be about 8-10 years. So, yes, I’m just now tossing birthday cards from 2006 (not the pretty handmade ones) and more Verizon flip phones than I care to admit.

I spent days eating cheap takeout amid boxes and boxes, just like in the movies. And around Day 5 I’d had enough. I dug out a couple of pans and utensils and made my inaugural meal. Kosheri from the first Ottolenghi cookbook. A humble meal really. Basmati rice that’s toasted with cinnamon and nutmeg, mixed with lentils, and served either with a tomato sauce or yogurt and cucumbers. Topped off with crunchy fried onions, the best part. It tasted so good. I felt brought back to life a little.

I’ve never been to Glasserie in Greenpoint. And I moved to Ditmas Park which might as well be another country from North Brooklyn. There are probably more people between me and Greenpoint than in the entire state of Vermont. (Population of Vermont: roughly 600,000; population of Brooklyn: roughly 2 million). But one day I hope to eat there, after a long journey on the Q, then the L, then the G train. And once there, I will eat cardamom sugar buns, pickled prunes, pistachios with kaffir lime leaf. I hear their flaky bread is divine. So until I can make it to the old glass factory building on Commercial Street, this homemade version will have to do. Not bad for having moved one week ago.

Glasserie’s Flaky Bread
via Bon Appétit

1 tsp salt
3 c all-purpose flour (or 2 c all-p, 1 c whole wheat)
6 tbsp unsalted butter, melted (I used cultured butter) + more at room temp for brushing
Good crunchy sea salt, like Maldon
Olive oil

Combine the salt and flour in a large bowl. Drizzle in the melted butter and mix well. Add 3/4 c water and combine. Kneed the dough on a lightly floured surface for about 5 minutes, until the dough is shiny and soft. Cover with plastic wrap and rest in a warm spot for at least 4 hours or as long as overnight.

Divide the dough into 10 pieces and shape into balls. Place the balls on a baking sheet, cover with plastic, and let rest for 15 minutes.

Working with 1 piece at a time, roll out balls on an unfloured surface with a rolling pin into very thin rounds or ovals (about 9″ in diameter). If the dough bounces back, cover with plastic and let rest a few additional minutes.

Brush the tops of the rounds with room-temperature butter and sprinkle with sea salt. Roll up each round onto itself to create a long thin rope then wind each rope around itself, creating a tight coil.

Working with 1 coil at a time, roll out on an unfloured surface to 10″ rounds, no more than 1/8″ thick. Stack as you go, separating with parchment paper brushed with oil to make things easier.

Heat a large cast-iron griddle or skillet over medium-high heat. And one at a time, brush both sides of the dough with more room-temperature butter and cook until lightly blistered and cooked through, about 2 minutes per side. Transfer bread to a wire rack to cool and sprinkle with more sea salt.

Serve plain, with shakshuka, your favorite jam, avocado, labneh, hummus, the possibilities are endless really. Next time I’d toast some sesame and poppy seeds and add this to the dough before rolling out, or fresh herbs.

You can also roll out the coils and freeze, wrapped tightly, up to one month. Cook from frozen, adding an additional 1-2 minutes cooking time.

IMG_4780

IMG_4249

Fall and baking go together like birthdays and cupcakes; Brooklyn and BAM; your right and left shoe. Or, turns out, pears and polenta.

As soon as the weather turns crisp I want to be in my kitchen on a Saturday with the oven on, music playing (well, really, NPR Saturday programming), and time on my hands to knead, stir, blend, bake. There’s something comforting and satisfying about making pies, cakes, and muffins using the last of the year’s good local produce.

A few weeks ago I was at a dinner party and my lovely friend served this easy-to-make polenta-pear-olive oil cake. She couldn’t have known, but those are three of my favorite ingredients and the combination was a revelation. I’ve had olive oil cake before, and maybe even cornmeal olive oil cake, but never with the addition of pear. The olive oil produces a crispy crust-like top that provides a satisfying crunch.

The recipe is from Lucy Waverman—”the Melissa Clark of Canada” is how my friends, the dinner party hosts who are from Montreal, described her. She writes a regular column for The Globe and Mail newspaper and I’m happy to have discovered her simple and seasonal recipes!

This is a snap to make and you’re sure to love it. It’s not too sweet to begin with but you could even reduce the sugar a little bit like I did. Would also make great muffins, just reduce the cooking time. Oh and if you don’t want to poach your own pears you can use canned pears and just reduce the canned pear syrup.

IMG_4255

Polenta, Pear & Olive Oil Cake
From Lucy Waverman, The Globe & Mail

For the poached pears

1 cup water
½ cup sugar
¼ cup honey
1 star anise, broken up, optional
1 1-inch piece cinnamon stick
2 pears, peeled, quartered and cored

For the cake

1¼ cup polenta or cornmeal
¾ cup all-purpose flour [I used half whole-wheat flour and half white]
1 teaspoon baking powder
½ teaspoon salt
½ cup butter, softened
¼ cup honey
1/3 cup sugar [I used 1/4 cup sugar]
½ teaspoon vanilla
2 whole eggs plus 1 egg yolk
3 tablespoons olive oil

For the poached pears:

Combine water, sugar, honey, star anise and cinnamon stick in a small pot and bring to boil. Add pears. Simmer gently for 15 to 20 minutes or until tender and a knife slides in easily. Remove from heat and let cool in poaching liquid. Remove from pot, reserving ½ cup poaching liquid. Chop pears and pat dry with a paper towel.

Preheat oven to 325 F.

For the cake:

Butter and flour a loaf pan and line the base with parchment paper.

Combine polenta, flour, baking powder and salt in a bowl. Reserve.

Cream together butter, honey and sugar until light and fluffy. Add vanilla. Add eggs and yolk one at a time, beating well between each addition. Add reserved flour mixture and mix together until just combined. Stir in olive oil and fold in chopped poached pears.

Pour batter into prepared loaf pan and bake for 50 to 55 minutes or until a toothpick comes out clean. Cool on a wire rack for 10 minutes and remove from pan.

While cake is cooling, reduce reserved pear poaching liquid over medium heat for 5 minutes or until thick and syrupy.

Prick holes in warm cake and brush liberally with syrup.

This time last year I made these: Pumpkin Cinnamon Rolls and Rustic Harvest Tart.

%d bloggers like this: